How do I set up my Okta SSO?
Last updated: March 10, 2026
Overview
This guide outlines the few steps you will need to take to set up Okta SSO for your Agent Handler organization. With SSO set up in Okta, you can auto-provision, de-provision, and manage permissions all within your Okta account.
Please note that your Okta Admin is required for this process!
Instructions
Step 1: Configure the SCIM token and copy the SCIM url
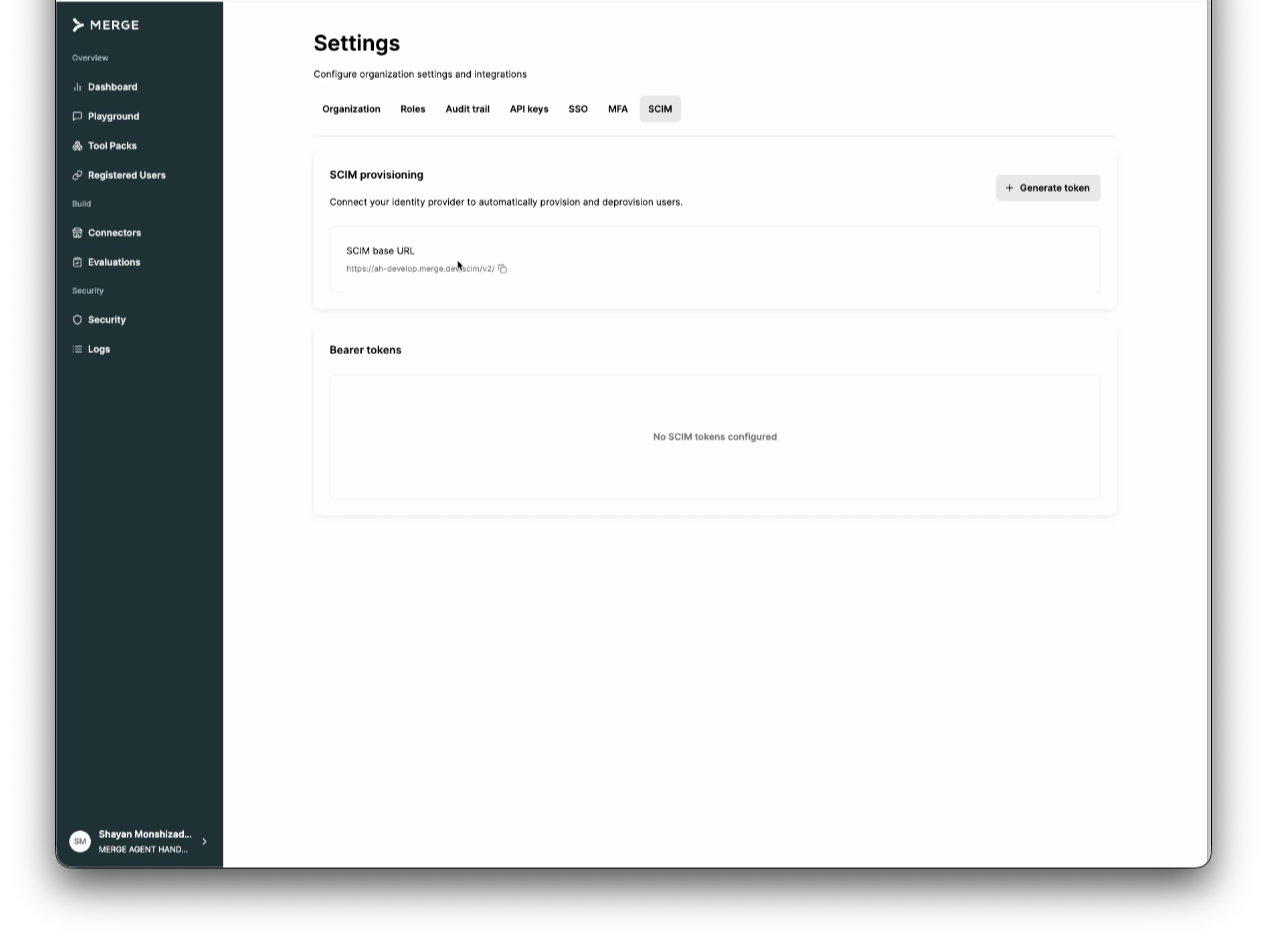
The admin of your Okta account and the Agent Handler account will navigate to Settings and then the SCIM Provisioning section. From there, click “Generate SCIM Token.” You can give the token any name you’d like. Once it’s created, copy the token.
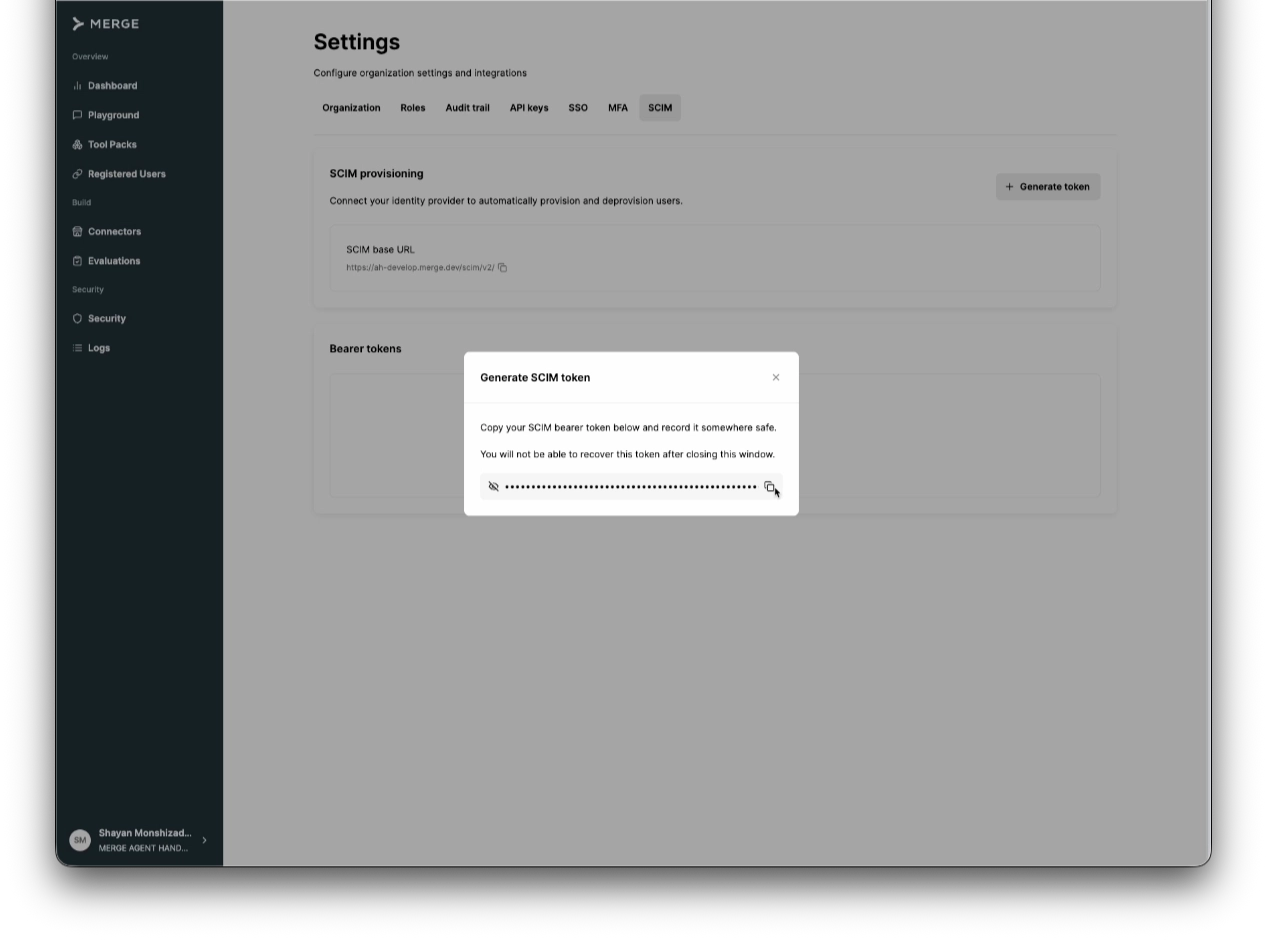
You will also need to copy the SCIM Base URL: https://ah-api.merge.dev/scim/v2
Step 2: Add the token to your Okta Admin Console
In Okta, create a new SCIM 2.0 app integration. Within the app configuration, paste the SCIM Base URL and the SCIM Token into Okta’s configuration fields, then press Save.
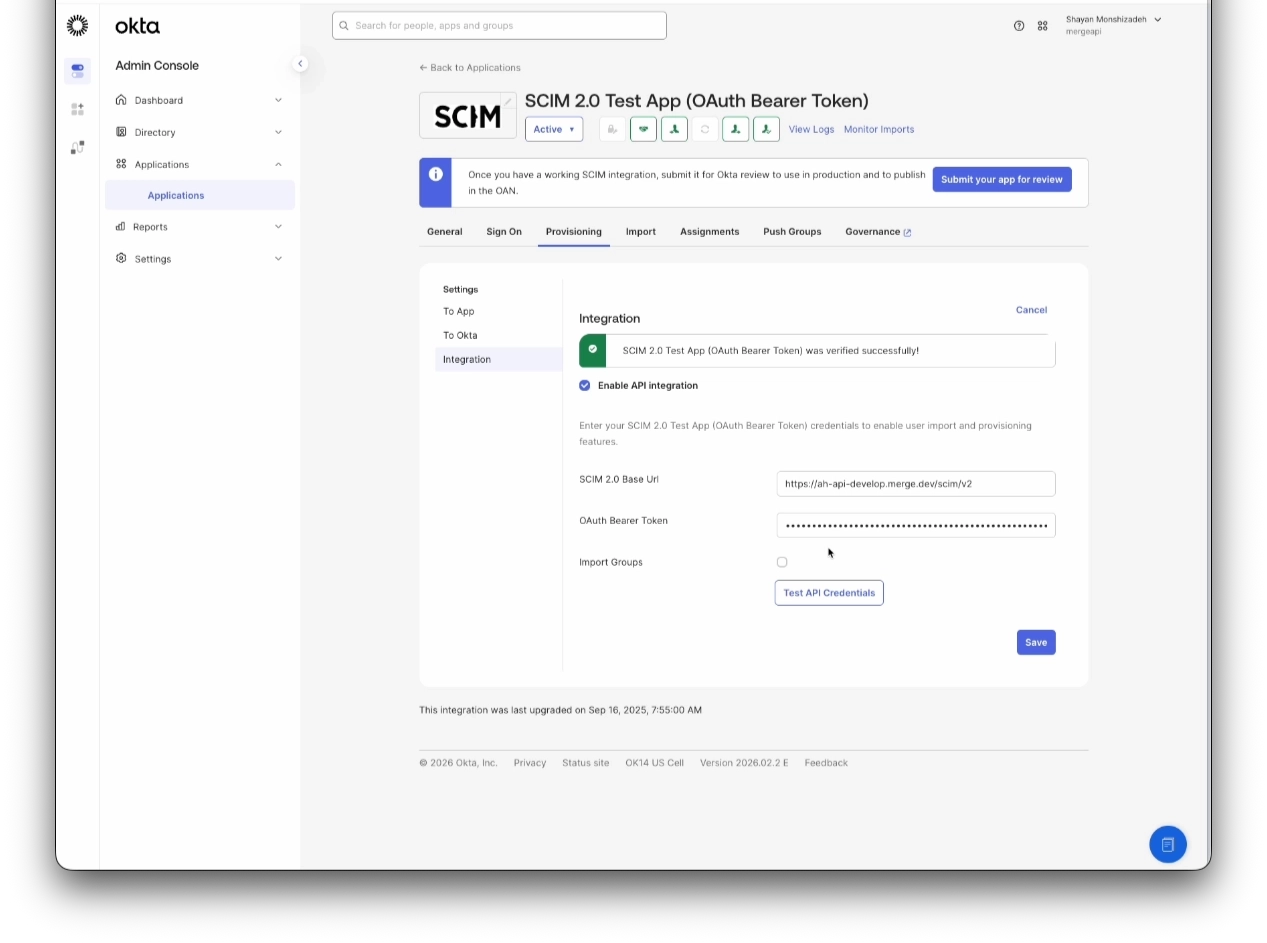
To confirm everything is set up correctly, you can click Test API Credentials.
Within the application, you can also configure provisioning features such as Create Users, Update User Attributes, and Deactivate Users.